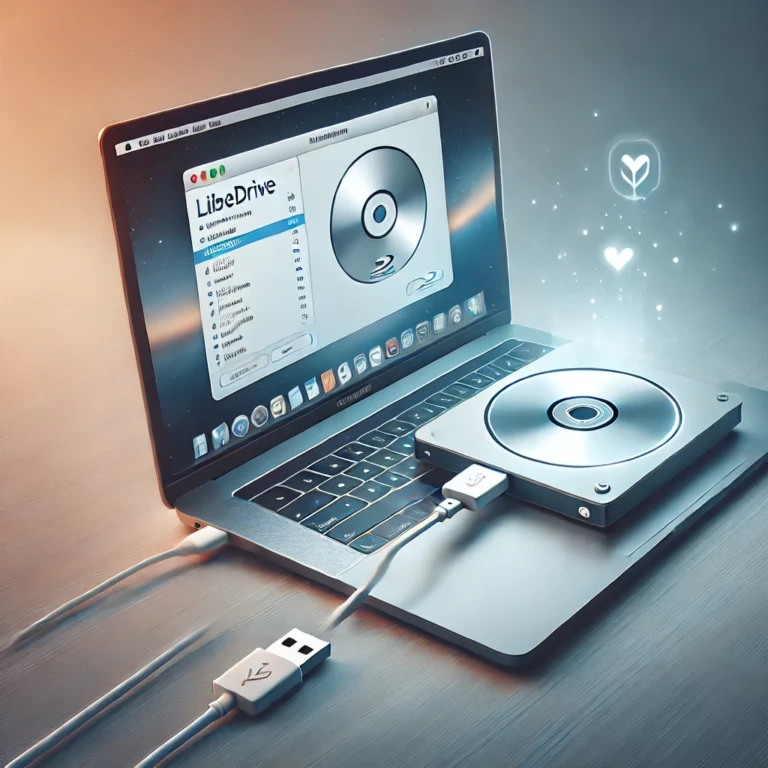
Enabling LibreDrive on your Mac might sound tricky, but it’s not as complicated as it seems. If you’ve ever struggled with restrictions on your external optical drive or wanted more control over its capabilities, LibreDrive is your solution. This guide will walk you through the simple steps to enable LibreDrive on your Mac, helping you unlock new features and gain more flexibility. By the end, you’ll know exactly how to set it up and enjoy a smoother experience with your drives.
What is LibreDrive and Why Should You Enable It?
What is LibreDrive?
LibreDrive is a feature in some optical drives that allows you to bypass certain manufacturer-imposed restrictions. With LibreDrive, you can get more out of your Blu-ray or DVD drive, including the ability to read data from discs without limitations. It’s perfect for those who want full control over their drive without the usual constraints.
Why Enable LibreDrive on a Mac?
Enabling LibreDrive on your Mac gives you the freedom to access and back up discs without running into compatibility issues or speed limits. It’s especially handy if you use software like MakeMKV to create digital copies of your media. With LibreDrive, you can avoid those frustrating “read errors” and slowdowns, making the process smoother and faster.
Step-by-Step Guide to Enable LibreDrive on Mac
Follow these steps to enable LibreDrive on your Mac:
1. Download and Install MakeMKV
- Visit the MakeMKV website and download the latest version of the software for macOS.
- Open the downloaded file and drag the MakeMKV icon into your Applications folder.
- Launch MakeMKV to ensure it’s installed properly.
2. Connect Your Optical Drive
- Plug your LibreDrive-compatible external Blu-ray or DVD drive into your Mac using a USB cable.
- Make sure the drive is powered on and recognized by your Mac. You can verify this in the Finder or through Disk Utility.
3. Open MakeMKV and Check LibreDrive Status
- Launch MakeMKV from your Applications folder.
- When the software opens, it will automatically detect your connected drive. If the drive is LibreDrive-compatible, you’ll see a message that says “LibreDrive enabled” in the drive info section.
- If you don’t see this message, double-check your drive’s compatibility with LibreDrive. You can find a list of compatible drives on the MakeMKV forums.
4. Enable LibreDrive Mode
- In MakeMKV, go to the “Preferences” section by clicking on the gear icon.
- Under the “Advanced” tab, look for the option labeled “Enable LibreDrive.”
- Check the box to enable LibreDrive mode. This setting allows MakeMKV to use the enhanced features of your optical drive.
5. Restart MakeMKV and Test Your Drive
- After enabling LibreDrive, restart the MakeMKV software to apply the changes.
- Insert a Blu-ray or DVD into your external drive.
- MakeMKV should now be able to read the disc without any issues, and you can proceed with creating backups or accessing the content.
Troubleshooting Tips
1. LibreDrive Not Detected?
If MakeMKV doesn’t show the LibreDrive status, try these quick fixes:
- Ensure your drive’s firmware is up-to-date.
- Reconnect the drive and restart your Mac.
- Check the USB cable and port to ensure a stable connection.
2. MakeMKV Crashing or Freezing?
If you encounter crashes, try reinstalling MakeMKV or running it in a different user account on your Mac. This can help resolve conflicts with other software.
3. Disc Not Reading Properly?
Make sure the disc is clean and free from scratches. Sometimes, dust or smudges can cause read errors. A gentle wipe with a soft cloth might solve the problem.
Benefits of Using LibreDrive on Mac
1. Better Control Over Your Discs
With LibreDrive enabled, you can bypass the usual restrictions, allowing you to make digital copies of your Blu-rays and DVDs without issues. It gives you more flexibility in handling your media collection.
2. Improved Compatibility
Some optical drives struggle with macOS compatibility, but LibreDrive simplifies the process. It ensures that your drive works seamlessly with MakeMKV, eliminating the frustration of finding supported drives.
3. Faster Ripping Speeds
LibreDrive removes speed limits that some manufacturers place on their drives. This means you can back up your discs faster, saving you time when transferring your favorite movies or data.
Conclusion
Enabling LibreDrive on your Mac is a straightforward process that opens up a world of possibilities with your optical drive. Whether you’re backing up your movie collection or working with data discs, LibreDrive gives you the freedom and flexibility you need. Follow the steps outlined in this guide, and you’ll be ready to enjoy unrestricted access to your media in no time.
FAQs
Q: What drives are compatible with LibreDrive?
A: Most modern Blu-ray drives are compatible. Check the MakeMKV forums for a detailed list of supported drives.
Q: Do I need to buy MakeMKV to enable LibreDrive?
A: MakeMKV offers a free trial, and you can enable LibreDrive during the trial period. For long-term use, purchasing a license is recommended.
Q: Is enabling LibreDrive safe for my Mac?
A: Yes, enabling LibreDrive through MakeMKV is safe. It doesn’t interfere with your macOS system settings or cause harm to your hardware.
Q: Can I disable LibreDrive after enabling it?
A: Yes, you can easily disable LibreDrive in the MakeMKV settings if you no longer wish to use its features.


